How to Choose a Daypack for Your Actual Daily Load
The right daypack fits the things you actually carry and the way you move through the day. A commuting bag, a short-outing bag, and a trail pack may overlap, but their priorities differ. Use this buying framework to compare exact products rather than chasing a single perfect backpack.
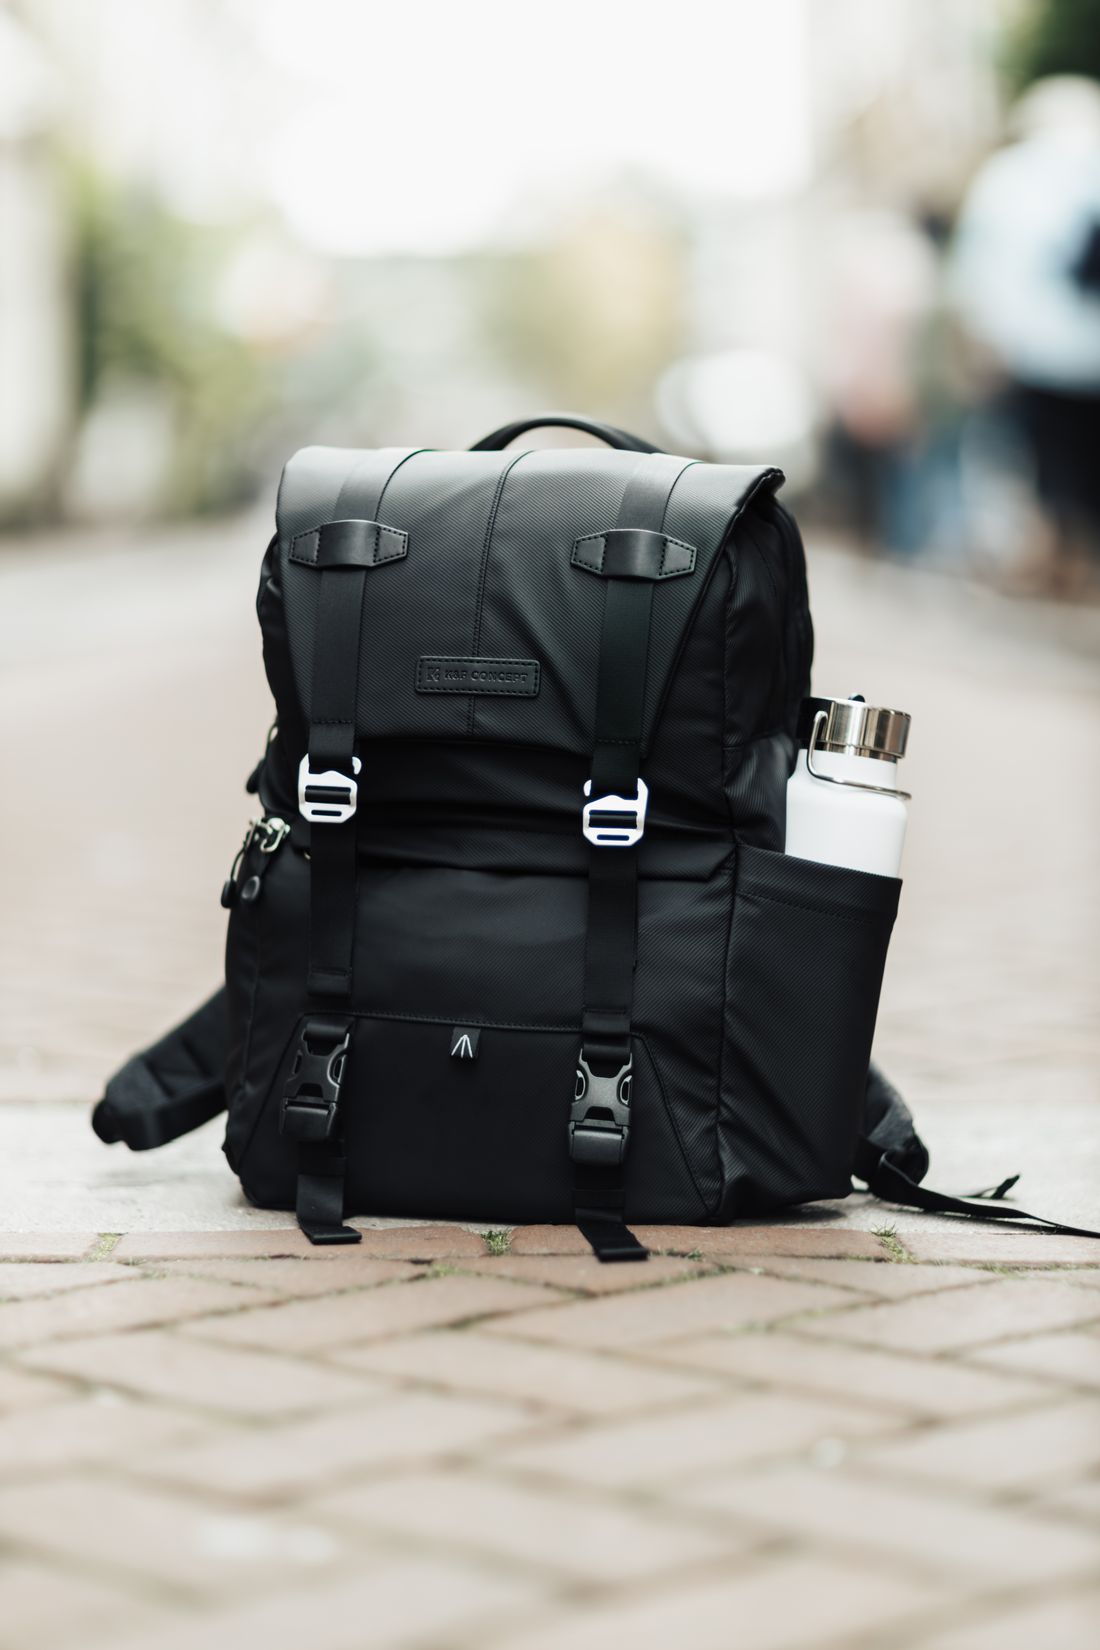
Photo: Matheus Bertelli · License. Illustrative stock photography.
Build the load before choosing the capacity
Lay out a normal day's belongings: work device, charger, food, bottle, extra layer, and personal essentials. Include the protective cases or containers you actually use. A capacity figure alone does not explain whether a broad lunch box or long jacket fits the main opening. Try packing the load into an existing bag to identify the real problem. Buy additional capacity for a defined need rather than because a larger number appears more versatile.
Match the design to the activity
For a commute, device access and organized small items may matter most. For an outdoor day, space for appropriate essentials and clothing may outrank a laptop sleeve. Consider how often the bag moves from your back to a crowded seat, under a desk, or into a locker. A narrow profile can be useful in busy places; a more structured back may suit a different load. List your main activity and one secondary use instead of optimizing for every imagined trip.
Check the fit with a realistic load
Use the manufacturer's sizing and adjustment guidance and try the pack with a representative load where possible. Overall body height alone is not enough to judge fit; pack sizing and torso dimensions vary. Walk, reach, and turn rather than judging an empty bag in a mirror. Notice strap placement, movement, and access to controls or clothing. If the pack is uncomfortable with the load you intend to carry, extra pockets do not solve the basic mismatch.
Choose access that supports the routine
A panel opening makes a bag easy to lay out, while a top opening can work well for simple packing. Check whether the device sleeve remains reachable when the main compartment is full. Put small items in an organization system you can remember; more pockets are not always better if they scatter belongings. Test bottle pockets with your own bottle size and closure method. A pocket that holds a product in a photograph may not hold yours securely in daily movement.
Read weather and construction claims carefully
Water-resistant fabric does not by itself establish that the whole bag is waterproof. Seams, openings, zippers, and the manufacturer's instructions matter. Protect sensitive equipment with suitable separate protection when appropriate. Inspect the attachment points, zipper operation, and any replaceable components described by the maker. Avoid inferring long-term durability from fabric thickness alone. A useful product listing identifies construction and care clearly enough that you can understand both the bag's strengths and its limits.
Compare the ownership details
Check the exact model and size, care instructions, warranty conditions, and what accessories are included. A rain cover, device sleeve, or sternum strap may be optional rather than standard. Think about storage when the bag is not in use and whether it can be cleaned in a way you can manage. A bag earns its place through repeated use. Choose the simpler option if the extra features add bulk without solving an actual problem in your load or routine.
Your working checklist
Checkmarks stay in this browser when storage is available. They do not submit a form or complete a booking.
Put it into practice
- Lay out and measure your typical load, including cases and food containers. Write down the one problem with your current bag and the main activity the replacement must support.
- Shortlist a few exact models by usable dimensions and opening style. Check the device sleeve and bottle pocket against your belongings instead of treating nominal capacity as a complete fit description.
- Try a representative load and adjust the bag using its instructions. Walk, reach, sit, and retrieve common items, checking that the pack remains comfortable and manageable during normal movements.
- Review care, included accessories, and the product's weather limitations. Select the model that solves the defined problem with the fewest unnecessary features, and retain its specifications for reference.
Before you finish
- Daily load is defined
- Device fits with its case
- Bottle pocket was checked
- Loaded fit is acceptable
- Weather limits are understood
- Accessories are identified
Common questions
Is a larger daypack always more versatile?
No. It may encourage unnecessary carrying and can be awkward when nearly empty. Compare the actual load and the bag's dimensions, then allow room only for realistic additional needs.
Does water-resistant mean waterproof?
Not necessarily. Read the whole product claim and its limitations, including seams and closures. Use appropriate additional protection for sensitive belongings rather than assuming fabric treatment makes every compartment watertight.
Should I choose the pack by my height?
Use the maker's sizing system and fit instructions. Torso dimensions and the specific design matter, and a loaded try-on is more useful than assuming people of the same height need the same pack.